¶ About the Plugin
Armor stand editor, or ASE, is a great tool for implementing the perfect building ideas into Minecraft life. We all sometimes wish that the building structure in Minecraft wasn't so rigid: We want to place things in the middle of other blocks, make items float in mid air, make cool statues that don't just display armor but also look dynamic. All of this and more can be achieved with ASE. On this page you will find information on how to access the plugin, how to use it, learn some helpful tricks, and see some truly spectacular ASE models built on Vestria.
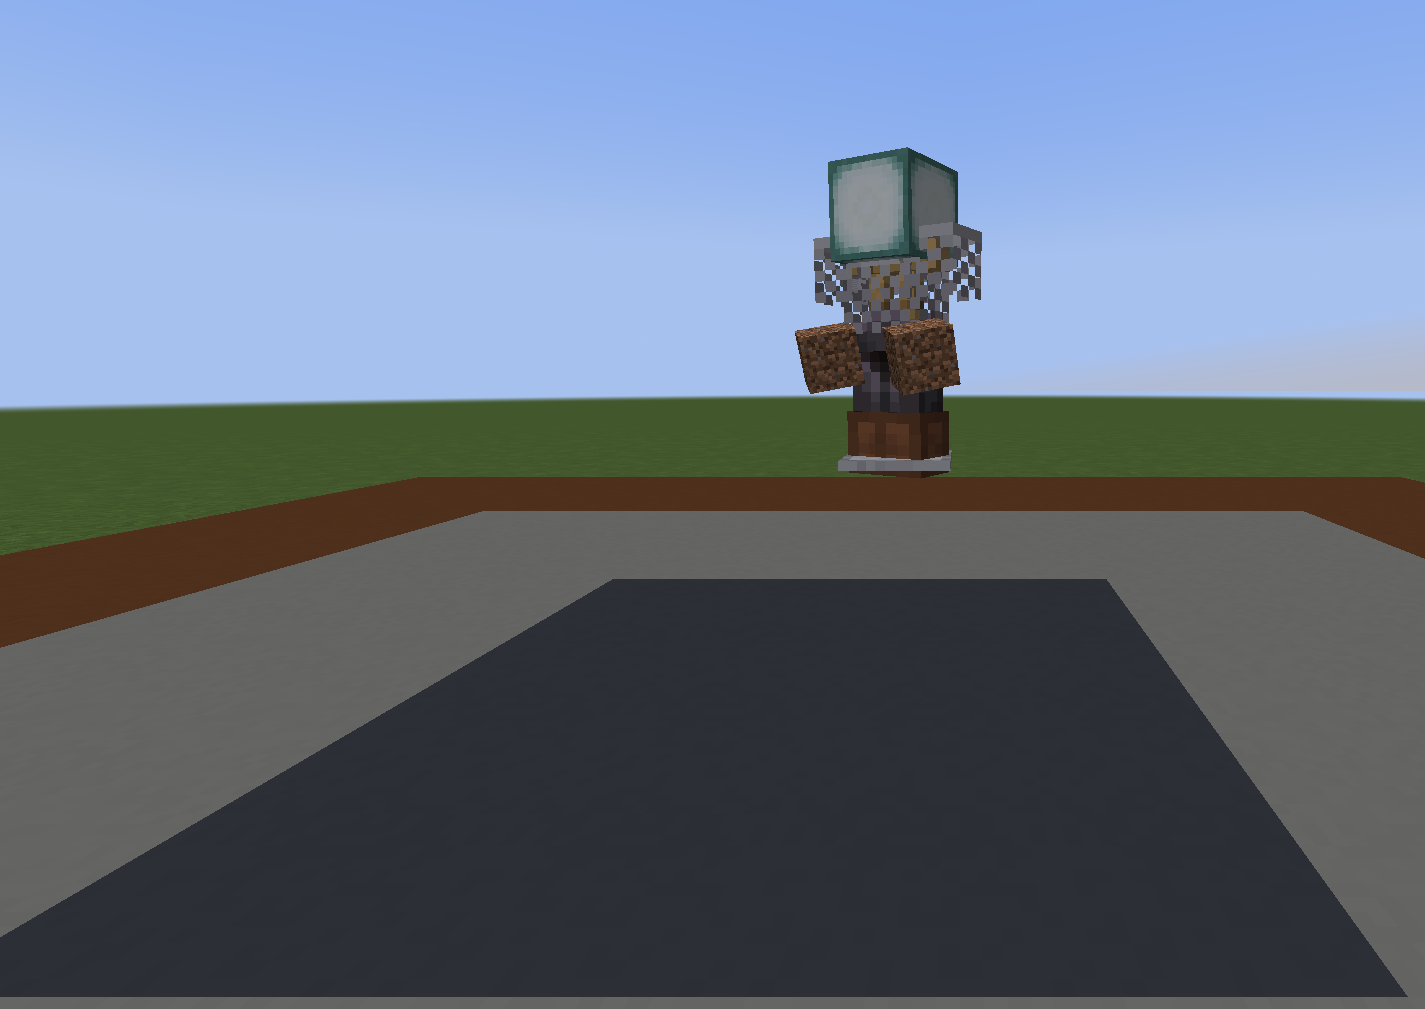
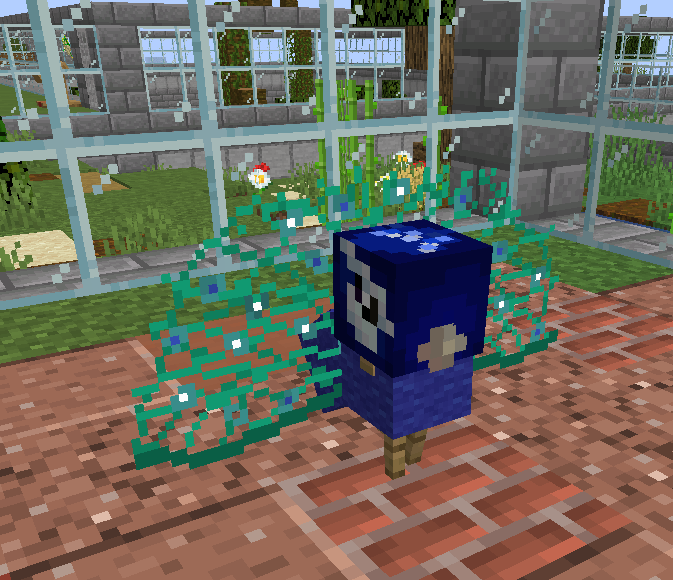
¶ Examples of ASE builds
Scroll down to the Gallery to see even more brilliant ASE structures.

Car in a garage, by EricLassard
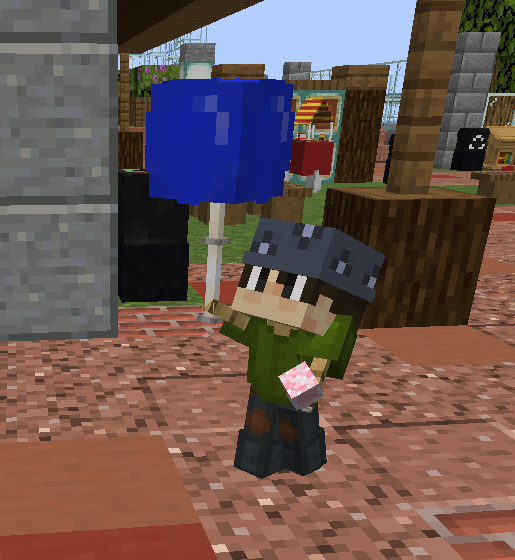
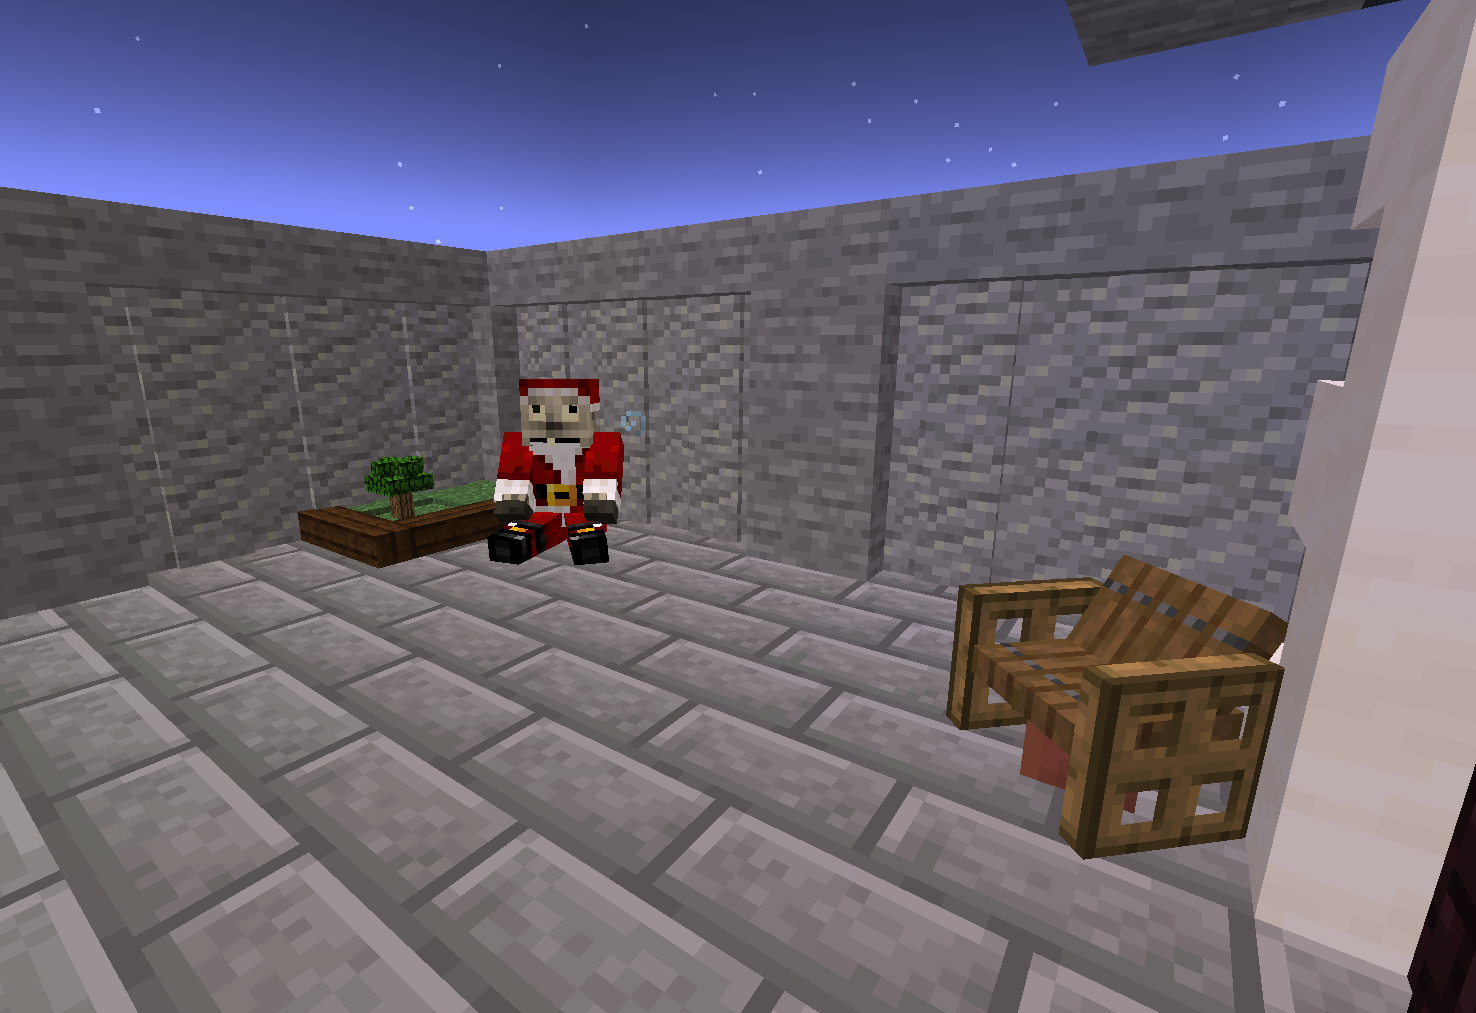
Kid with a balloon, by EricLassard
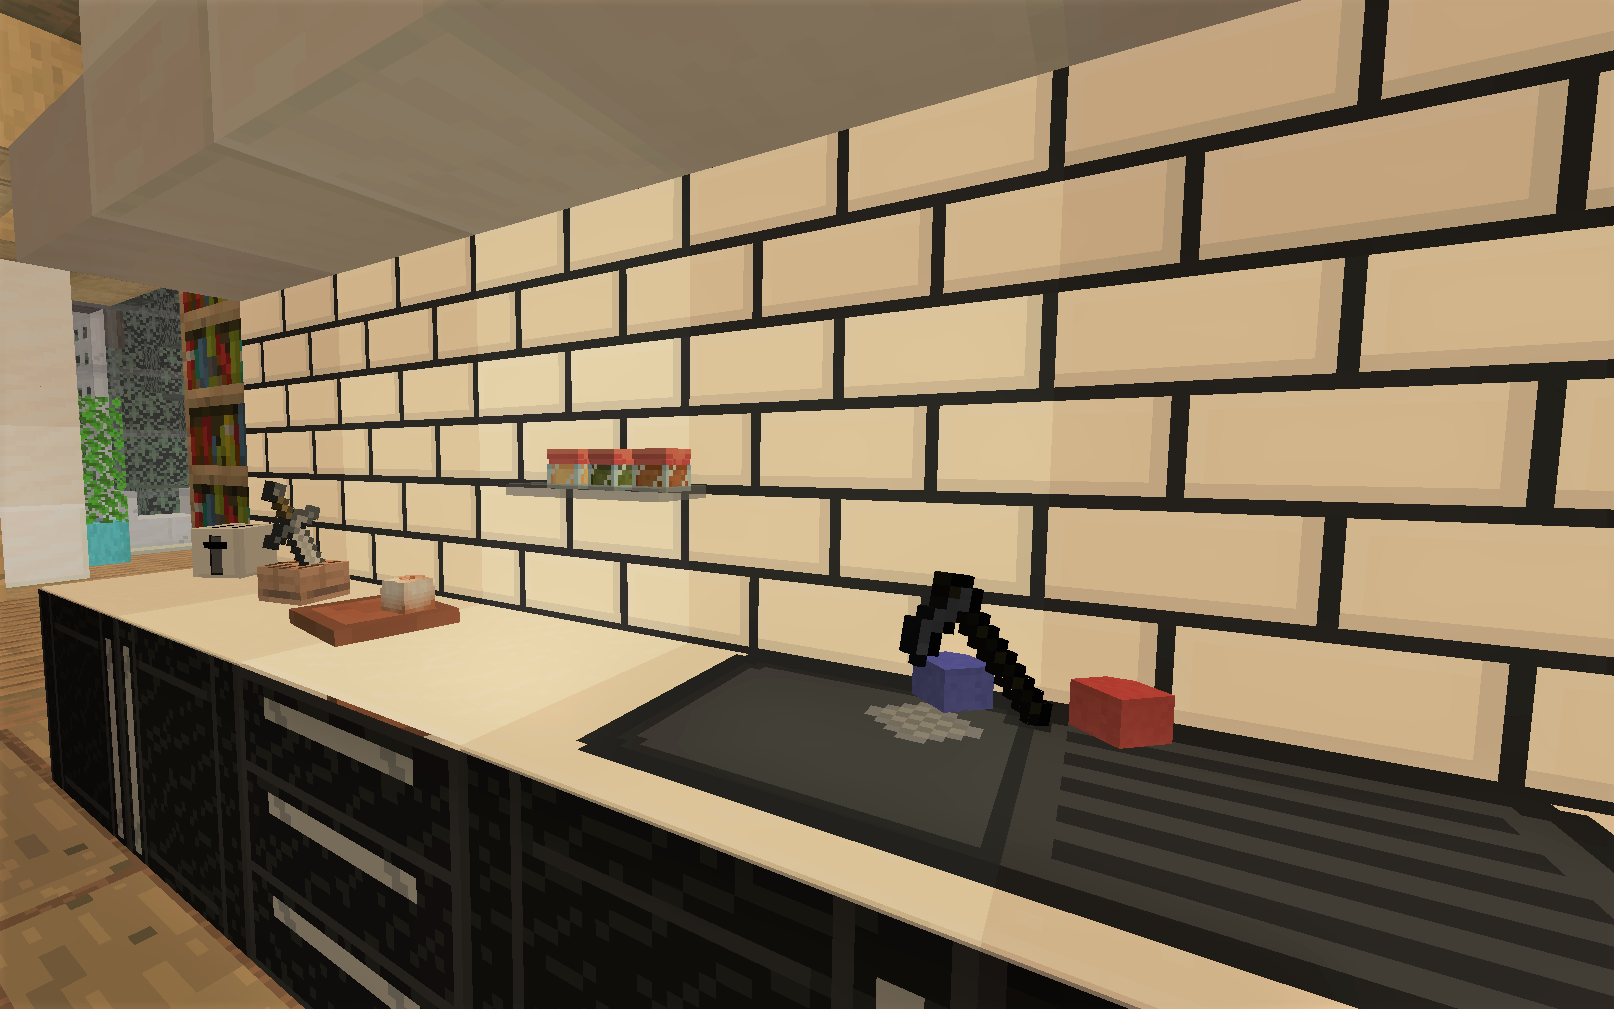
Kitchen, by EricLassard
¶ Access to ASE
Not everyone can use ASE, but it's not very hard to get access to it. The simplest way is to join the Builder Guild. You get access to ASE immediately and can start making sophisticated builds even at Novice rank.
Another way is by redeeming a temporary voucher for access to ASE. You may receive one as a reward during events or buy it from other players.
Click here to read more about the Builder Guild
¶ Using the ASE
ASE may seem a bit intimidating at first, but if you follow this tutorial and practice you will be a pro in no time!
¶ Materials
To begin with, you are going to need an Armor Stand, some item or block, and Flint. Flint is the key to using ASE - it is the tool for accessing the plugin GUI.
¶ Interaction with the armor stand
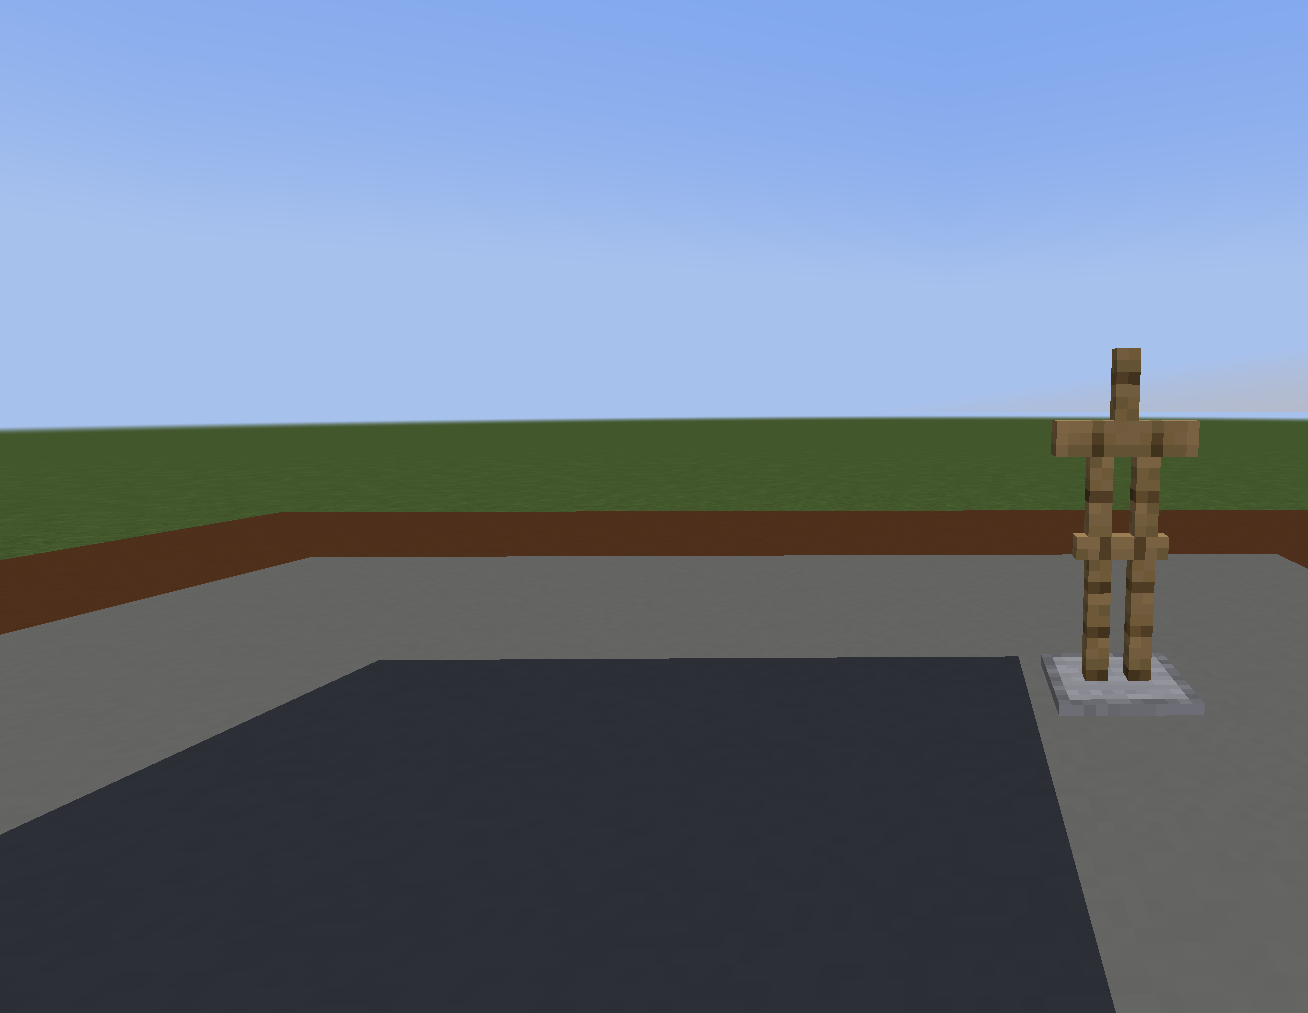
Once you have your materials ready, you can begin. Simply place your Armor Stand on the ground near the place where you want your final creation to be. Hold the Flint in your hand and click with it while facing away from the Armor Stand. This will open the Armor Stand Editor Menu.

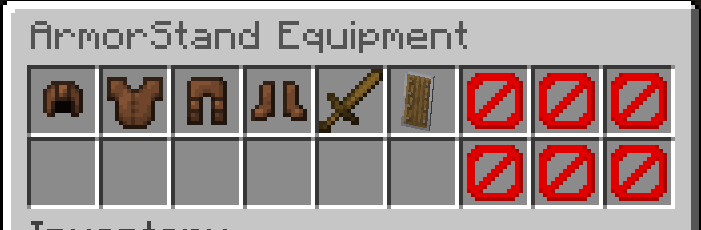
¶ Armor Stand Editor Menu
This menu is where you select what action you want to perform on your Armor Stand. You can turn and move the stand, change the position of arms, legs, head, and torso, put something on the stand, change size and visibility of the stand.
The following image explains what every option is:
.png)
¶ Moving the armor stand
The top row is for moving the Armor Stand itself. The two icons in the top right corner select the type of movement. If you click the Minecart, the Armor Stand will move in space, while the Compass will make it rotate around its vertical axis.
In the middle of the top row there are two options for the type of movement. Clicking on Dirt will select the coarse modifier, making every movement big. Next to it is the fine modifier to make small, more precise changes.
These modifiers also apply to the body rotation that is going to be discussed later
Finally, the top left is for choosing the direction of the movement. It can be sideways, back-and-forth, and up-and-down.
Once you have clicked on the type of movement and your modifiers for it, close the menu and click the Armor Stand with the Flint. It will keep performing that action every time you click the Armor Stand.
Right-clicking will move it in one direction, and left-clicking will move it in the opposite direction.
¶ Adding items to the armor stand
To put something onto the Armor Stand, choose the Chest icon in the middle of the left side. It will open up another menu, where you can choose which slot to use - head, chestplate, pants, feetsies, and right or left hand.
Move the item from your inventory into the right slot. Some items will not be visible in chestplate, pants, or feetsies slot. The size of the item will be different in the head or hand slots.
¶ Position
You can now put things on your Armor Stand and move it around. Time to learn how to change the position of the individual parts of the stand.
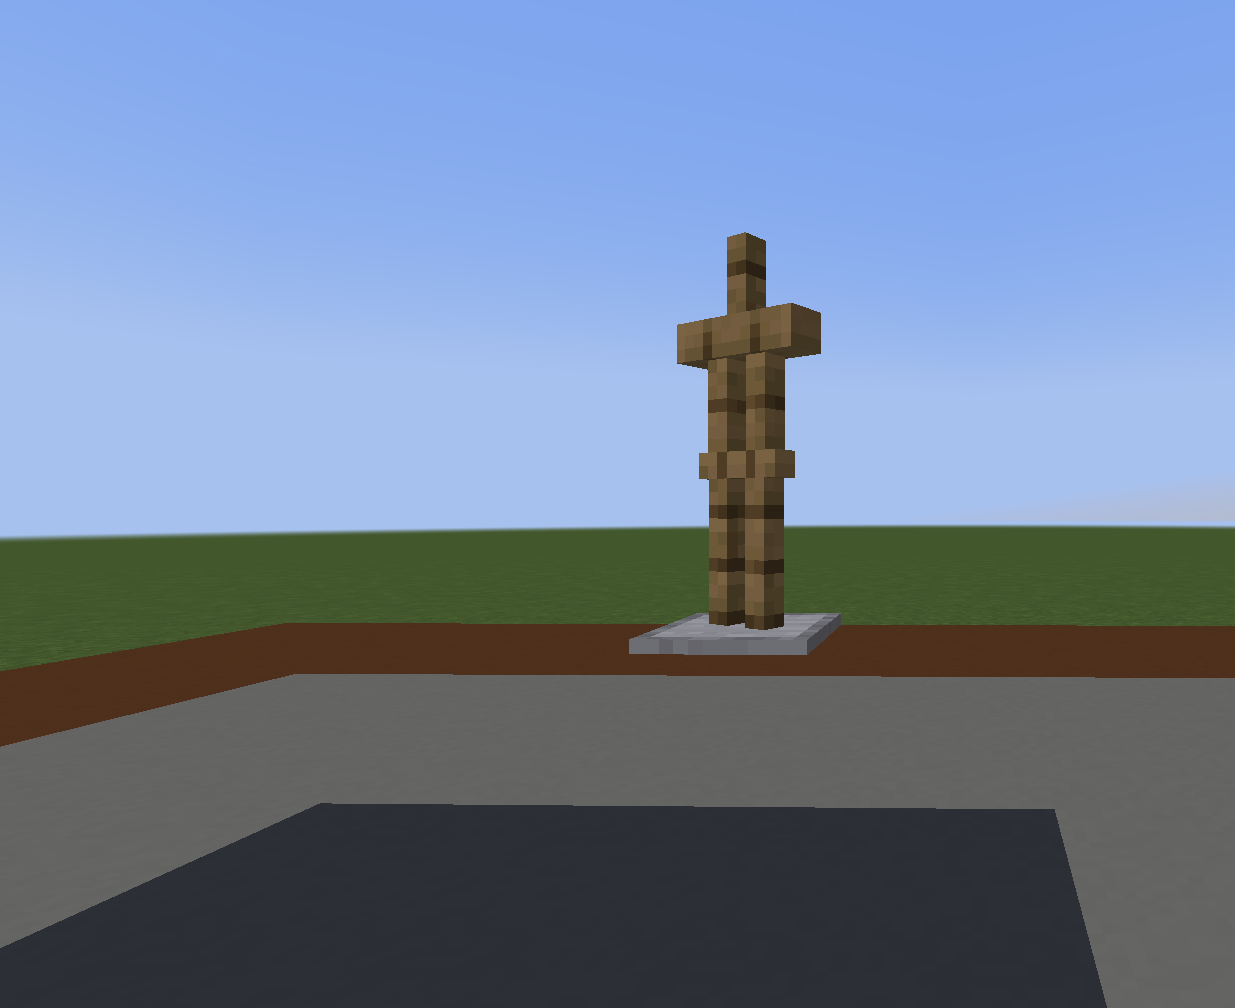
Open the Armor Stand Menu again. On the left you will find buttons for head, chestplate, left and right arm, and left and right leg. Each of those controls the position and rotation of the respective parts of the armor stand. You can raise the arms, rotate the legs, turn the head, and bend the torso.
After choosing either 'Rotation' or 'Movement' by clicking on the Compass or on the Minecart and either 'Fine' or 'Coarse' for the degree of change by clicking either Sandstone or Dirt, click on the armor part that you want to move.
As before, 'load' the action into the Flint in the menu, then exit it and click the Armor Stand with the Flint to apply the action. If you want to apply it again, click again. Reverse the direction of the action by doing a right click instead of a left click or a left click instead of a right click.

If you want the Armor Stand to stand straight, click the 'Reset Pose' button that looks like a Lever. It will change the position of the parts, but will not affect the rotation or the placement of the stand itself
¶ Copy|Paste
Sometimes you might want to have several Armor Stands in the same position. Thankfully, you don't have to work on every single one of them individually. That would be incredibly boring.
On the left side of the Armor Stand Editing Menu there are the Copy and Paste options - the Book and Quill to copy and the Book to paste. There are also 4 slots on the bottom, which can store 4 different configurations.
Choose 'copy', then click the stand you want to replicate. The positions of the Armor Stand parts will be saved, and the mode will automatically switch to 'paste'. Now click the stand(s) you want to change and they will magically look the same.
This will not change the rotation or the placement of the Armor Stand. You have to get that manually. However, the visibility of the Armor Stand, Base Plate, and Arms, as well as size will be transferred to the new armor stand.
.png)
If you are in Creative mode, the copy+paste action will also replicate the items on the stand.
¶ Other
There are 5 other options in the menu that we have not touched upon: Show Arms, Visibility, Size, Gravity, and Base Plate. They are mostly self-explanatory: Show Arms, Visibility, and Base Plate toggle the visibility or arms, the whole stand, and the base plate respectively. Size changes between small and big size, and Gravity stops the armor stand from being affected by the gravity to help it stay in place.
¶ Help
The last button is located in the lower right corner. Pressing it will print out the most important instructions in your chat.
¶ Helpful tips
- If you are working with a lot of Armor Stands in a small space, it may be hard to hit the one you need. It is very frustrating when you need to move one part of your structure but you miss and send a different piece into the wall by accident. To help with that, you can select and lock in one specific Armor Stand.
Press 'F' and click the Armor Stand with your Flint. Now all actions will be performed on that stand until you press 'F' again.
- You can switch between axes of movement without opening the menu.
Shift and scroll while holding the Flint to switch between X, Y, and Z axes.
- Combine different materials to achieve the most phenomenal results.
Add artmap paintings and invisible frames for even cooler builds.
Can you spot where artmap was used in the images from the Gallery?
¶ Gallery
Get inspired with these brilliant ideas of ASE builds.
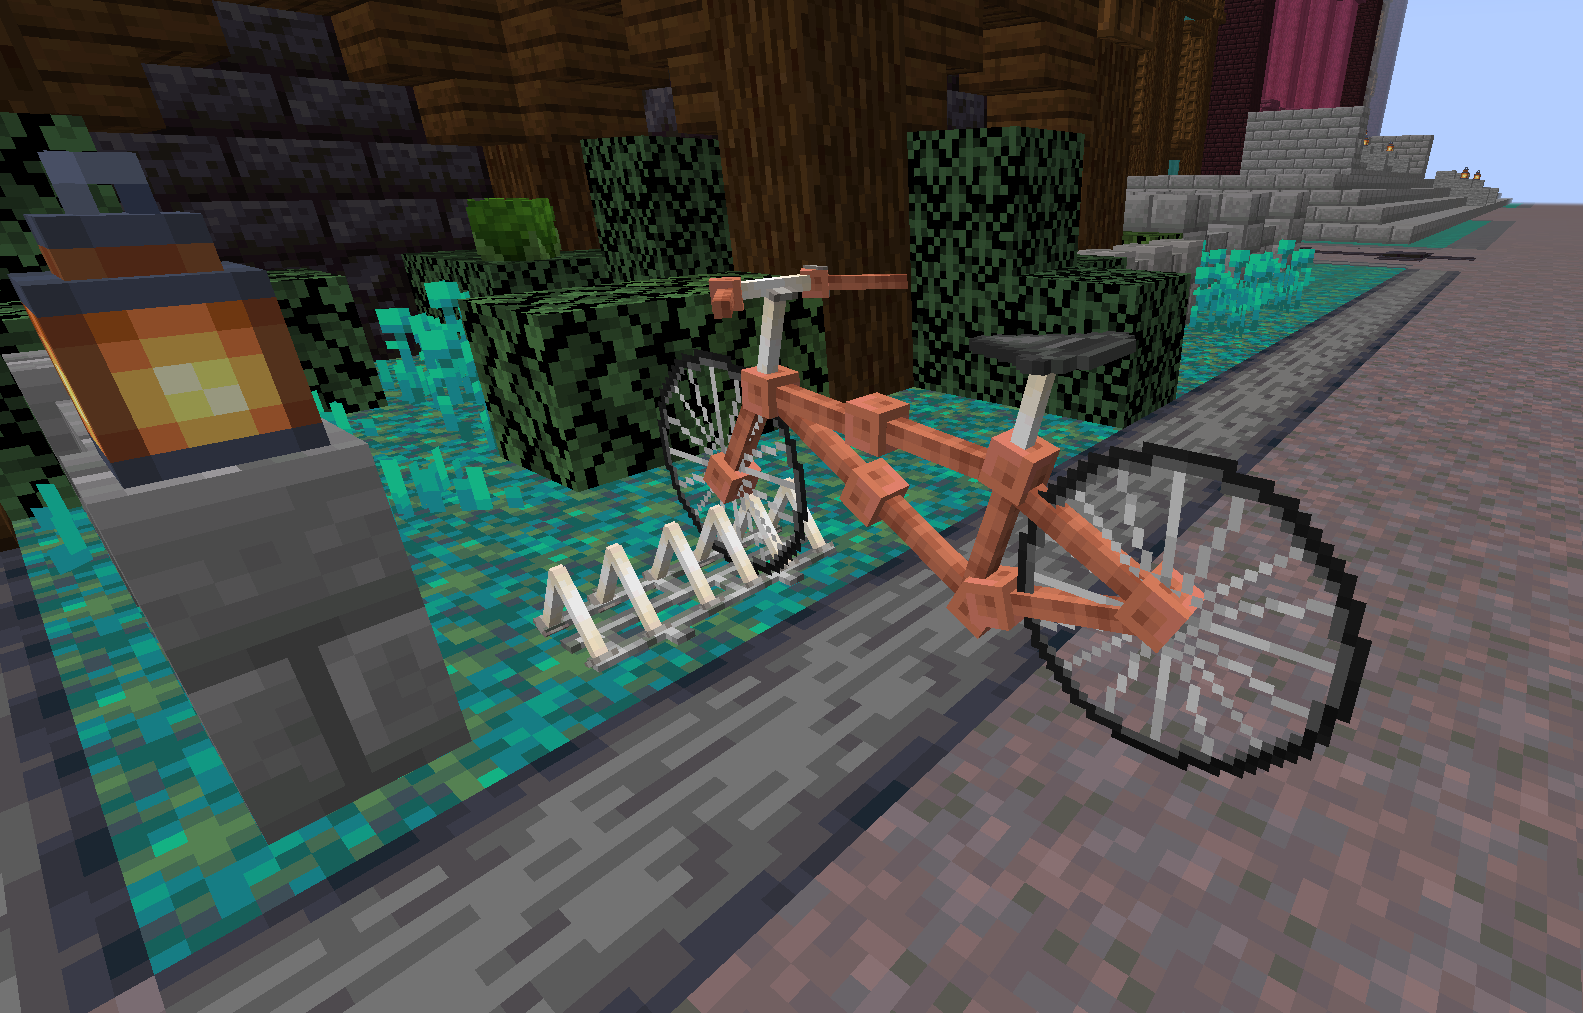
Bike, by EricLassard
Peacock, by EricLassard
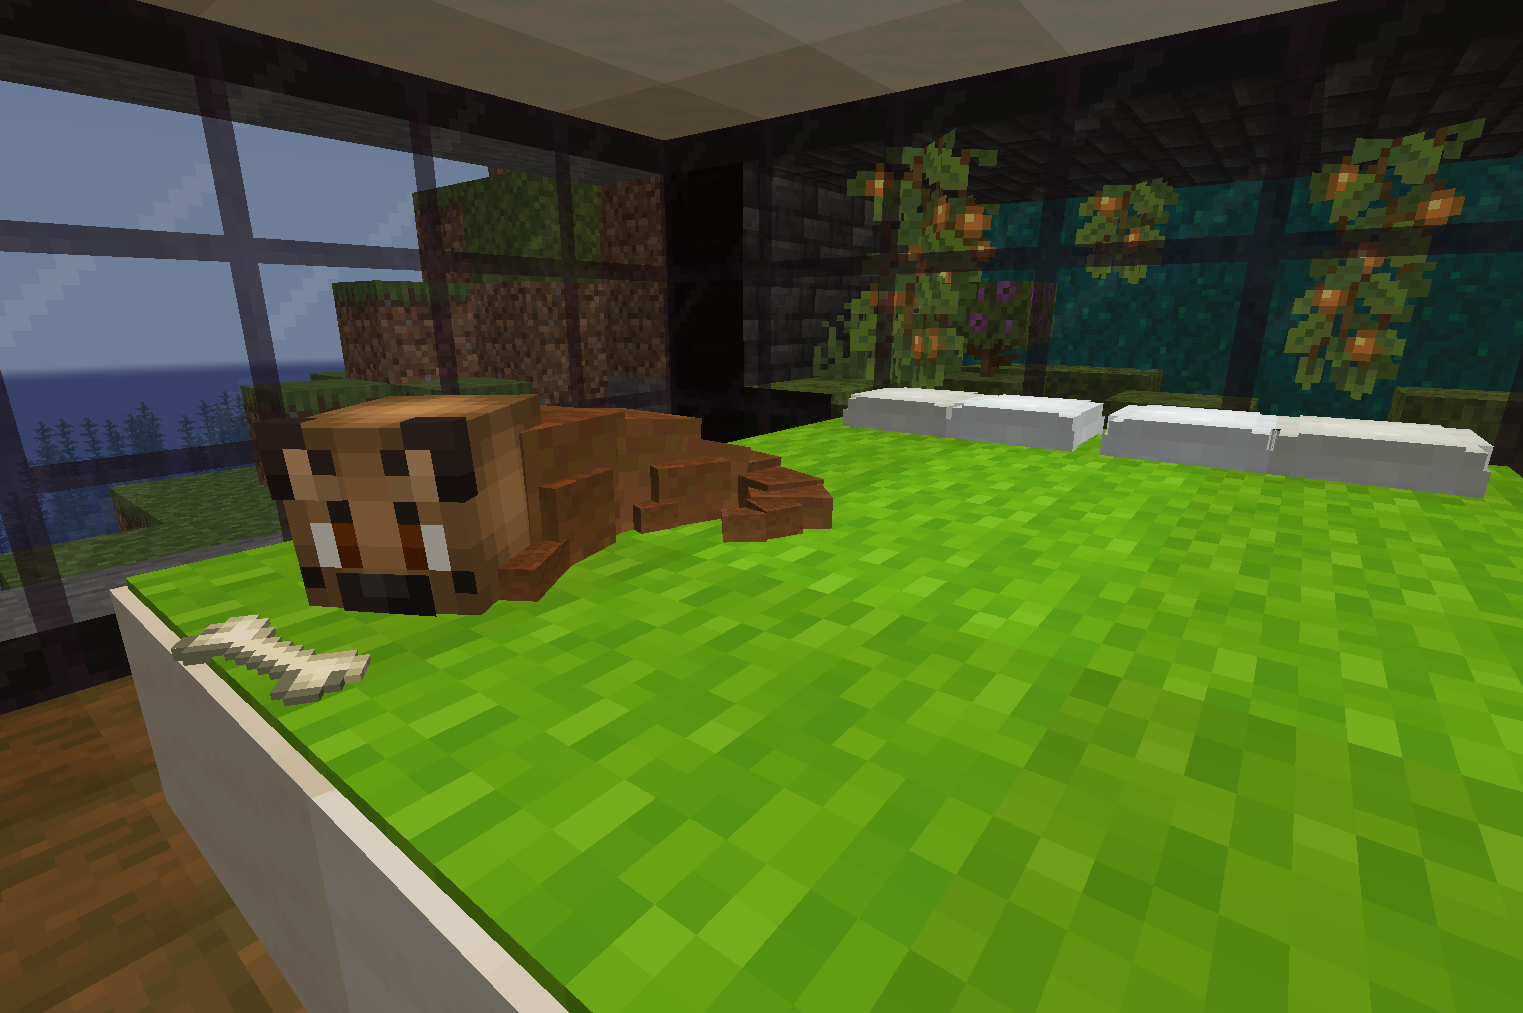
Puppy, by EricLassard
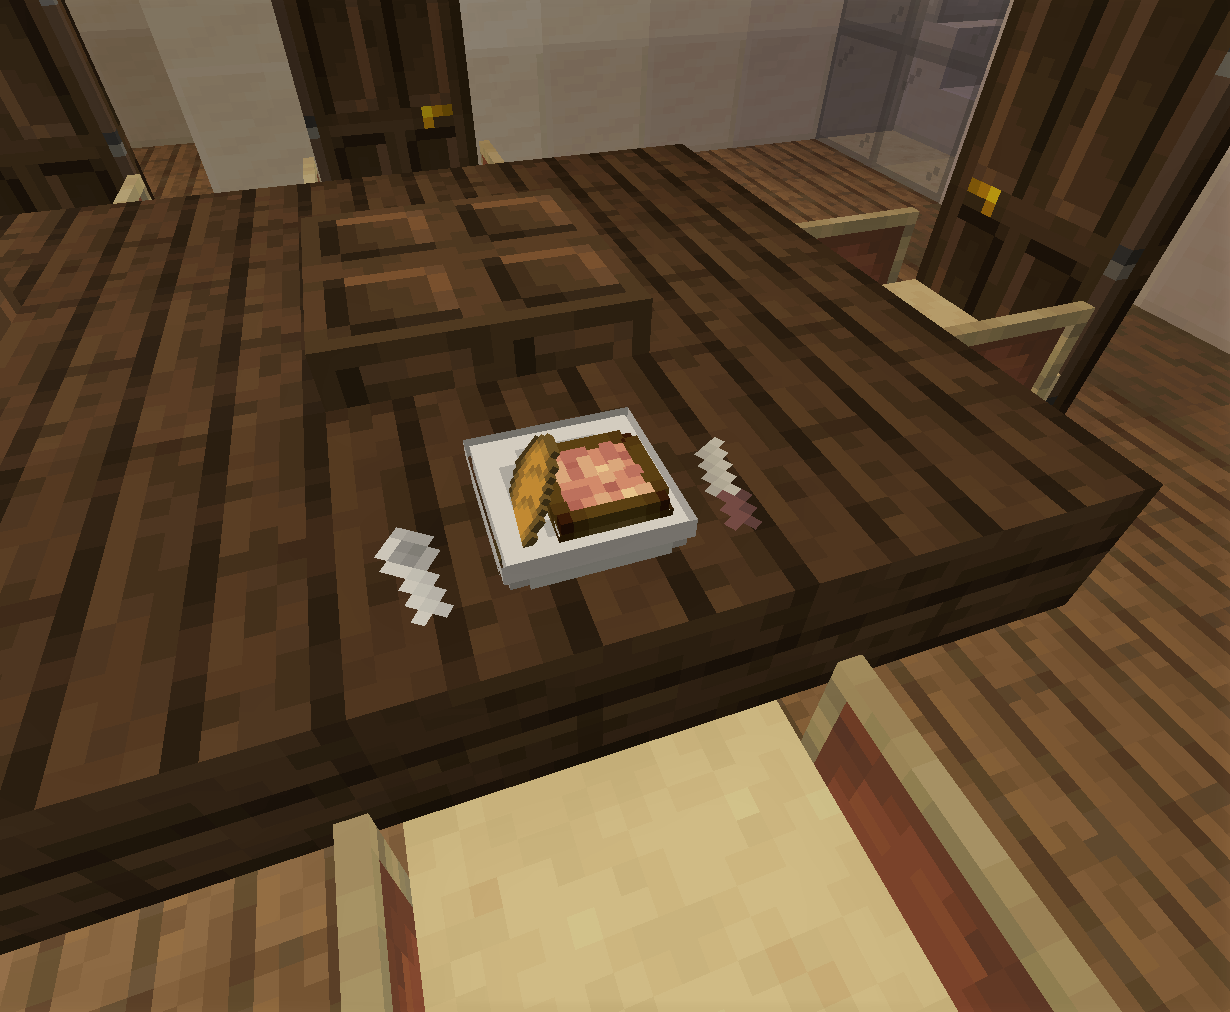
Plate with food, by EricLassard
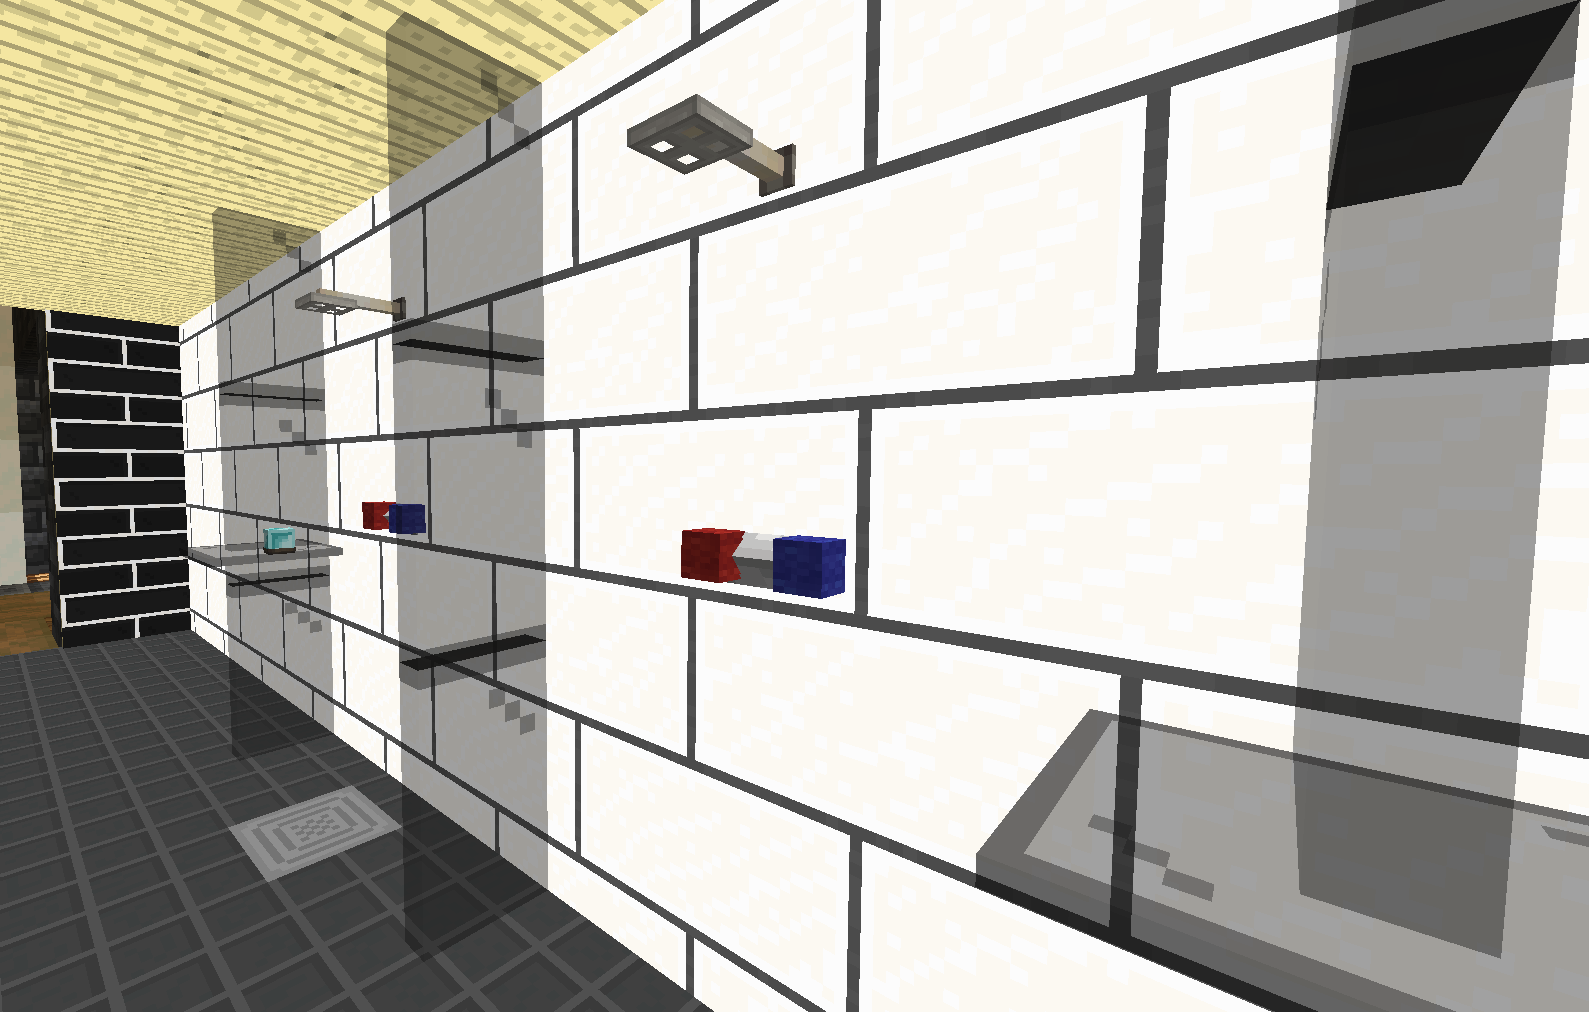
Shower, by EricLassard
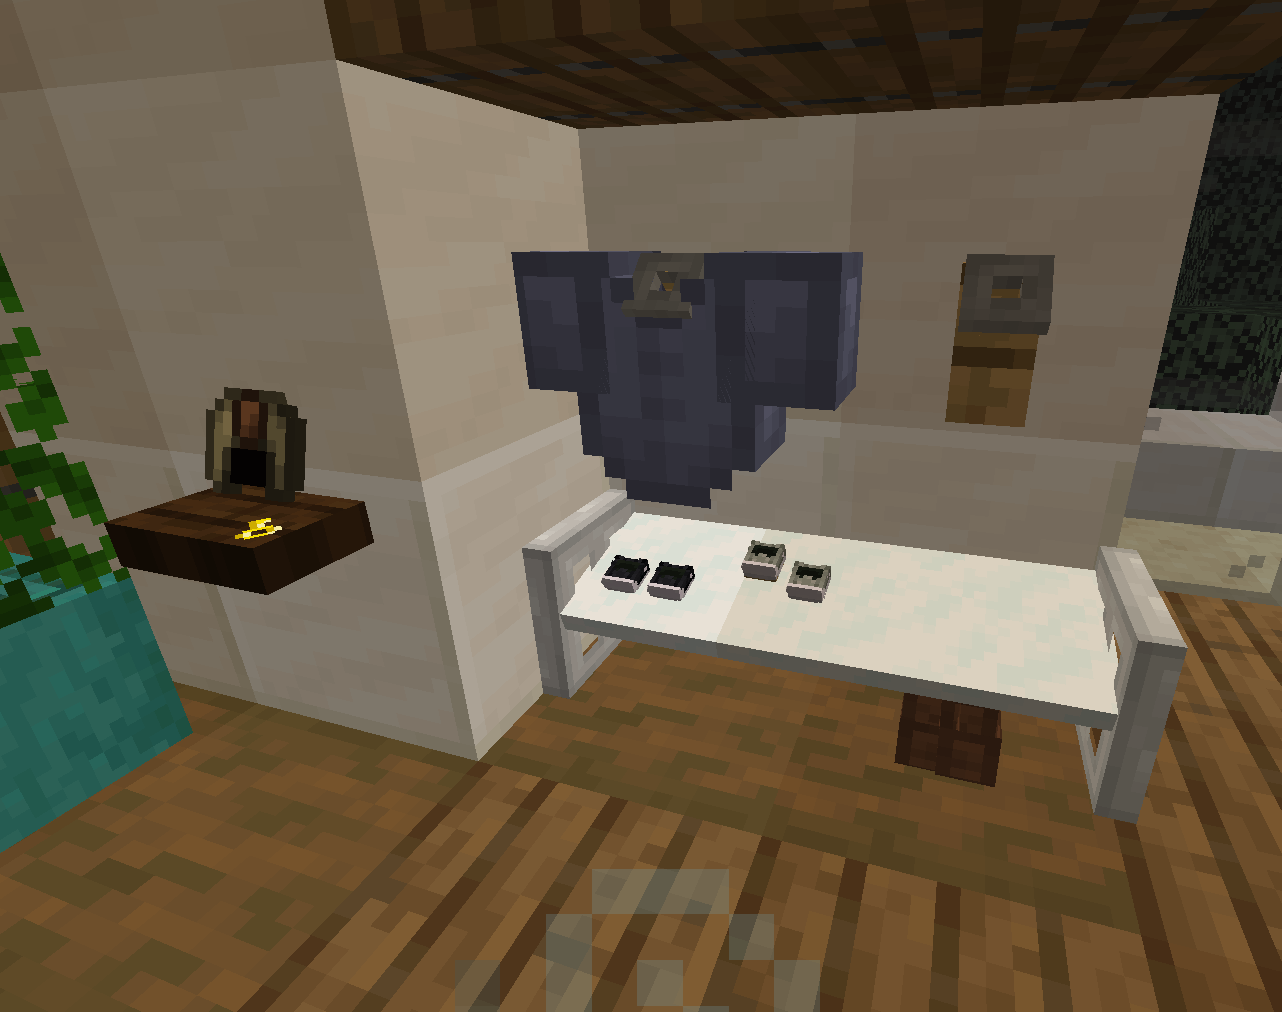
Clothes- and shoerack, by EricLassard
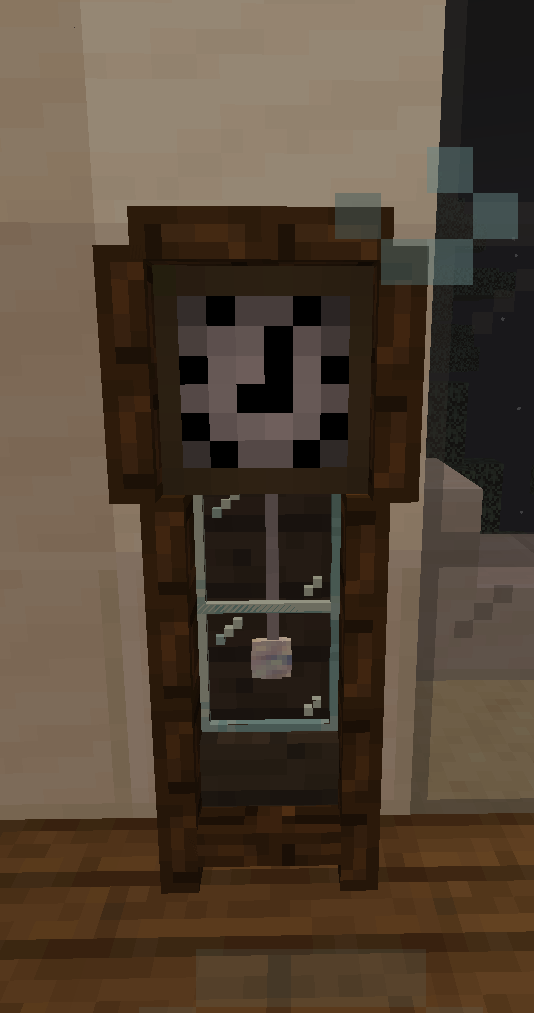
Grandfather clock, by EricLassard
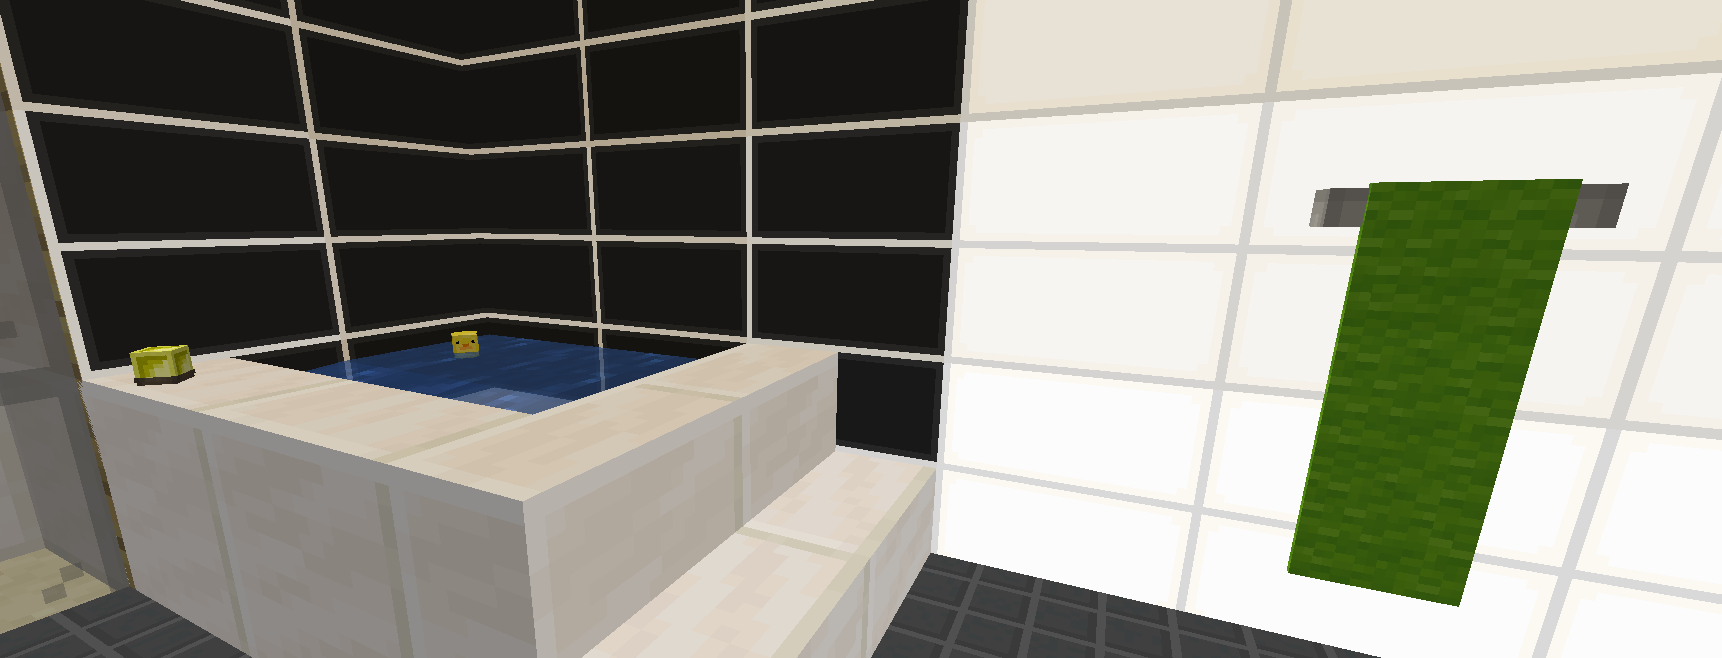
Bathroom with a rubber ducky, by EricLassard
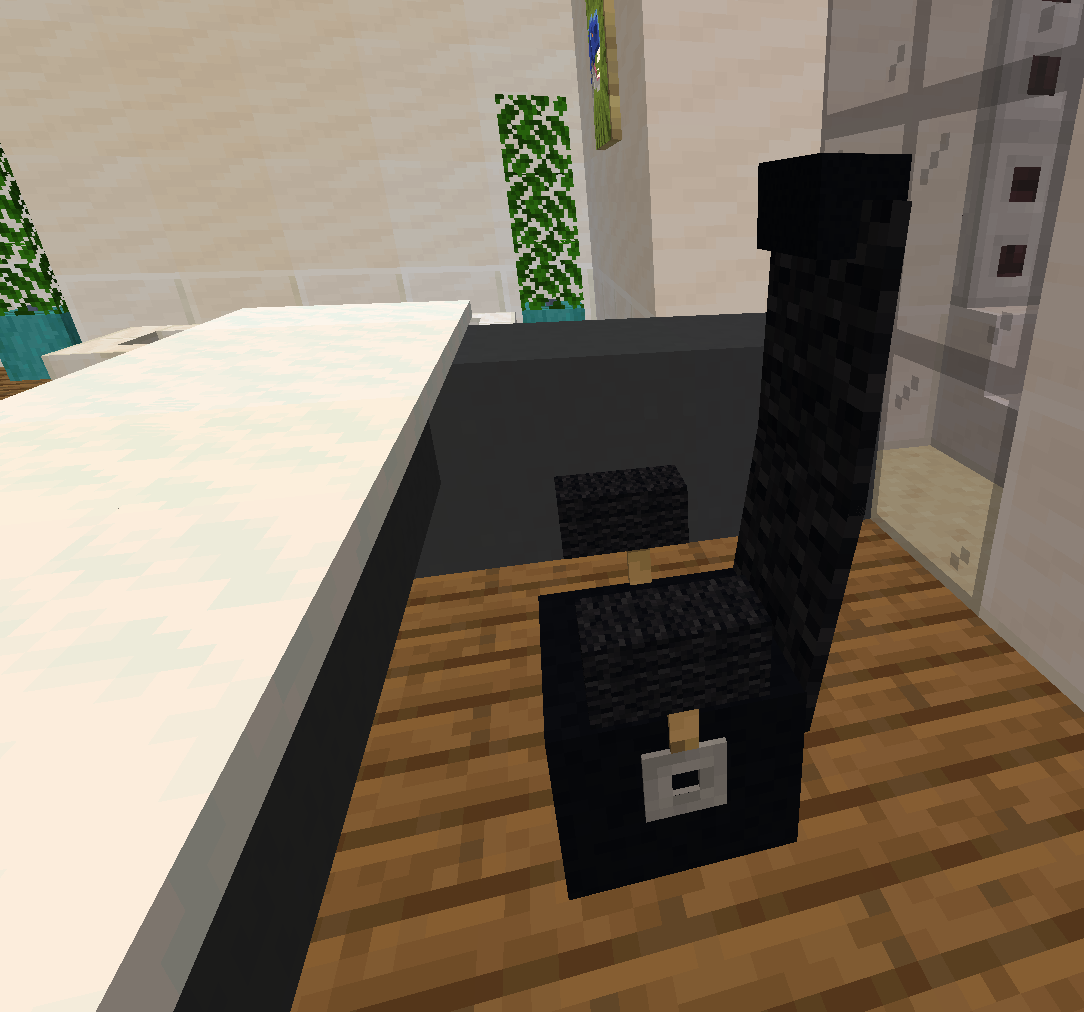
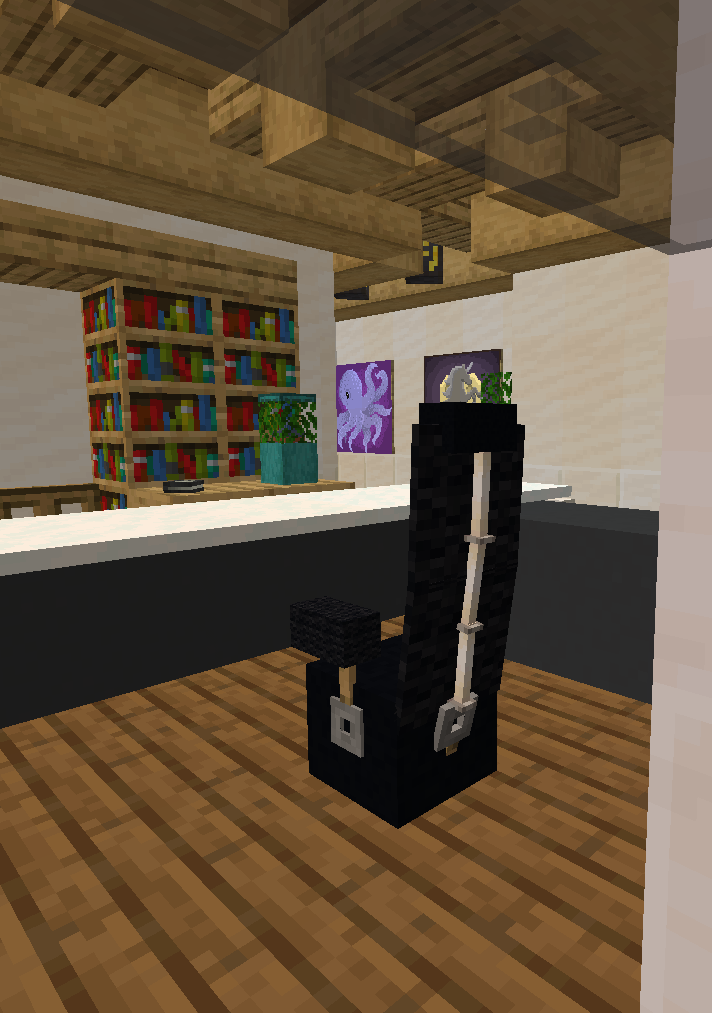
Office chair, by EricLassard
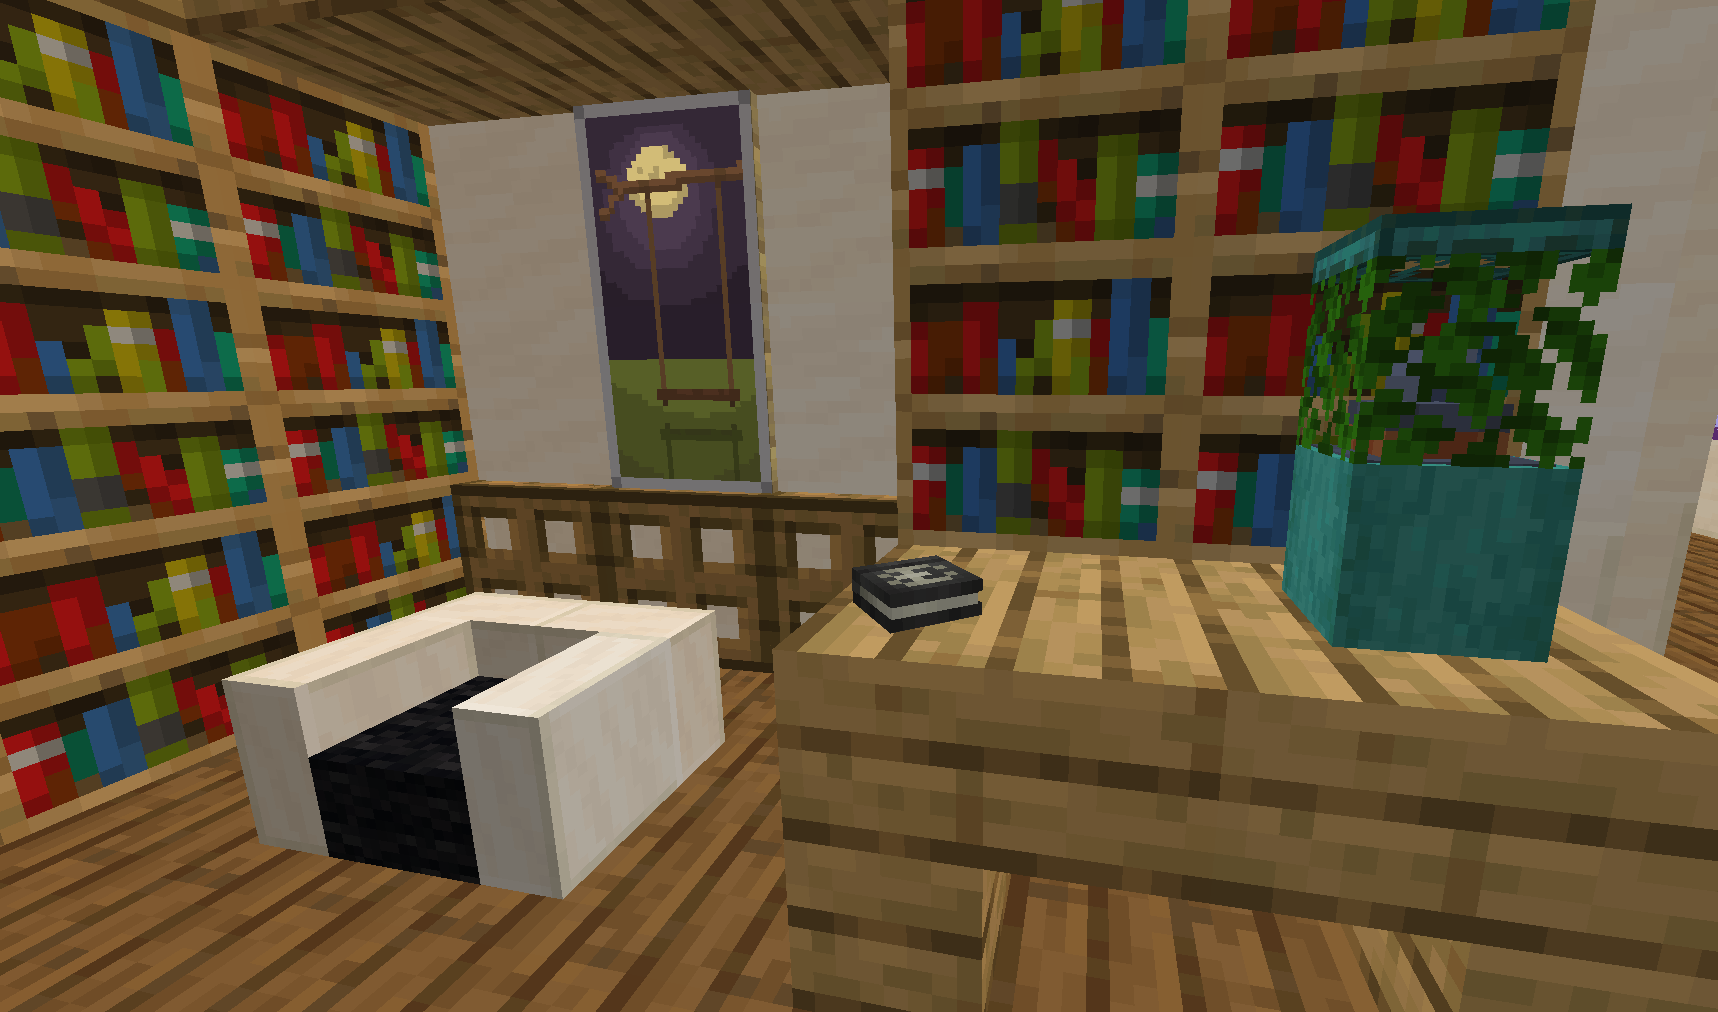
Reading nook, by EricLassard
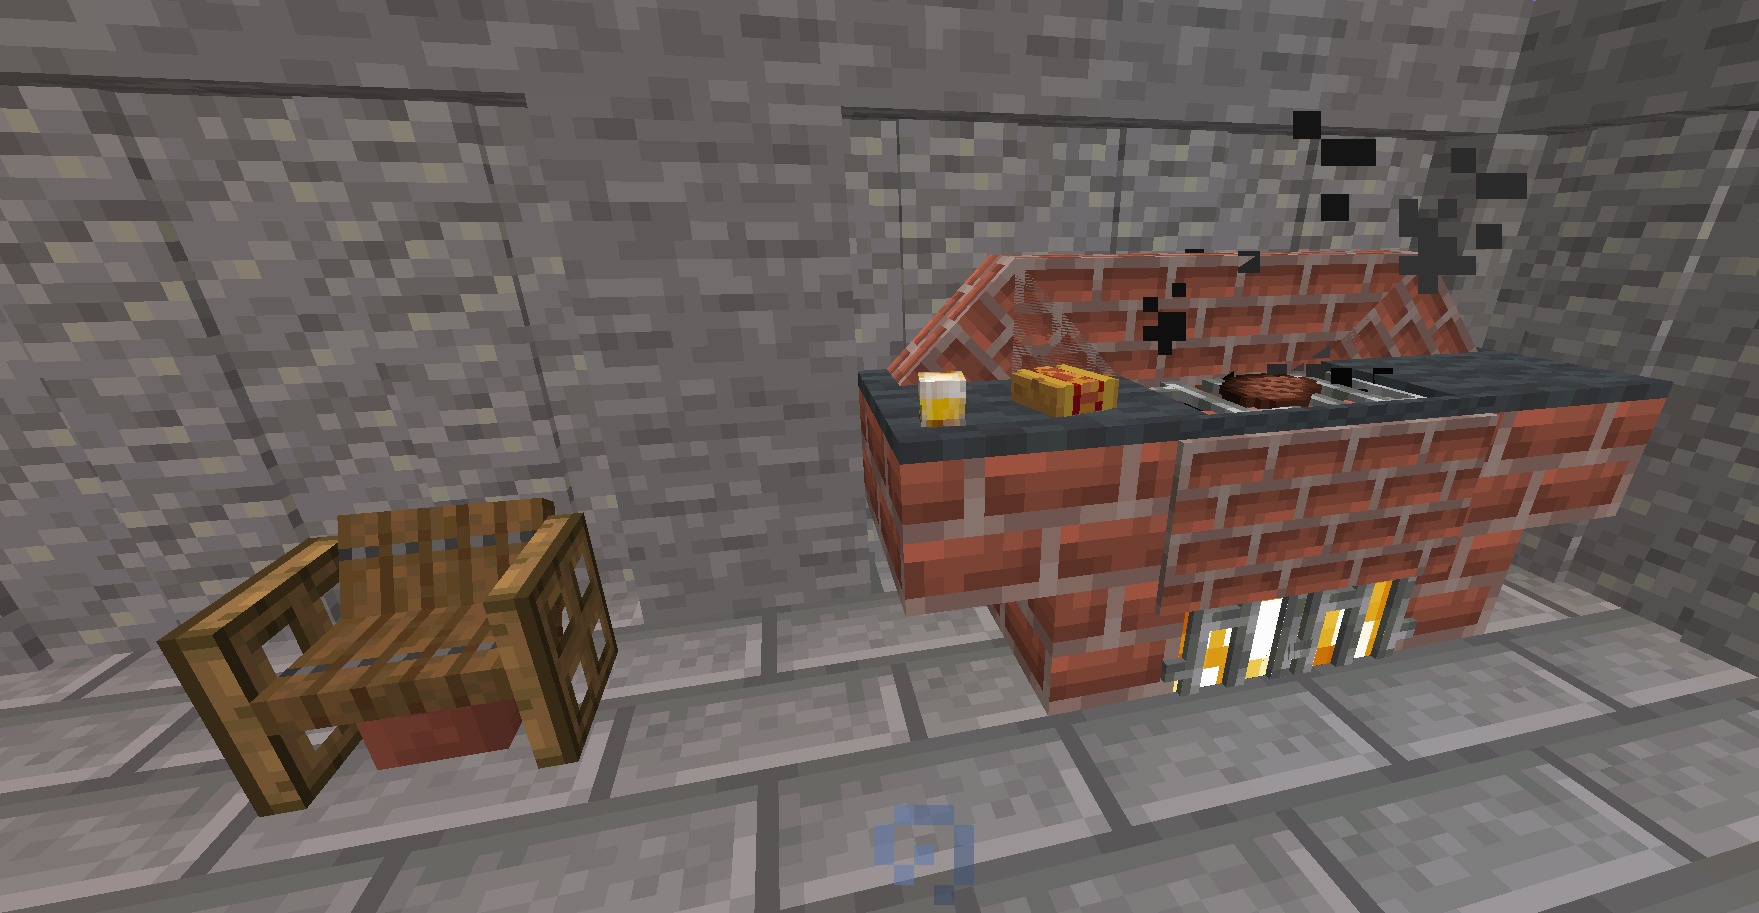
BBQ on the balcony, by EricLassard
Balcony garden, by EricLassard. EricLassard for scale.